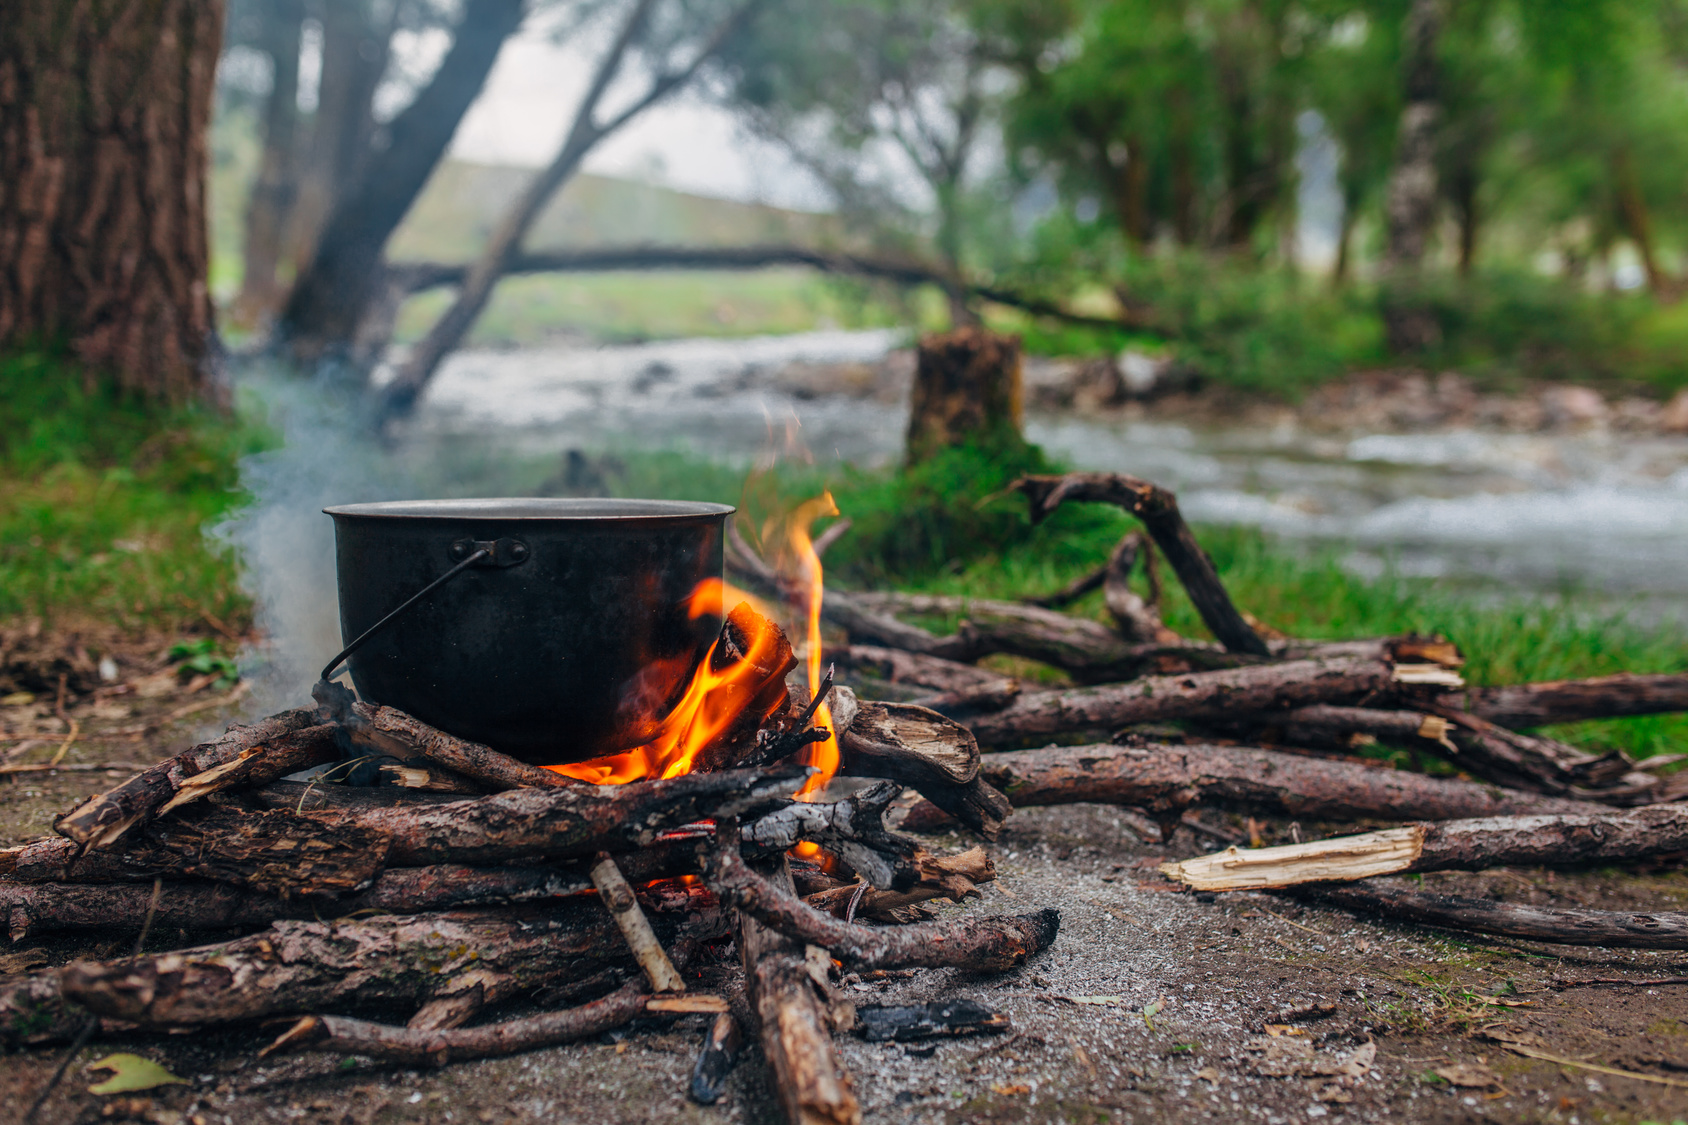
Cooking over a campfire isn’t an easy task, although for most of people’s needs it can be “boiled” down to just starting a fire and roasting marshmallows on it. Still, some people prefer the delicate taste of a freshly made soup, or nicely grilled fish or even steak, even when they are out into the wild. Throughout all my camping years I’ve learned one thing – no matter what bad thing happens to you out there, it is never something a nicely prepared warm meal can’t fix.
Campfire cooking is essentially kitchen cooking with the difference of the heat source. Everything from your recipes, knives, pans, and dishes can stay the same but the trick to master this type of cooking is to understand fire and the way it cooks your meal. In other words, the key to good outdoor cooking is a nicely prepared fireplace.
In this small guide I will teach you which are the most important steps of campfire cooking and give you a lot of tips on how to perfect your craft. Hopefully, by the end you will have the knowledge and confidence to go out there, start a great fire and cook your favorite meal without an issue. So, let’s get started!
Step 1 – Create Your Kitchen
No matter where you are, you should always start with this step. Learn your surroundings and find the best place for a fire pit. An ideal scenario would be for the fire to be in a place without much wind and near a water source. Wind is the enemy of a good fireplace as it keeps blowing oxygen into the fire thus making it hotter and more unstable for cooking. Having water nearby is amazing since you will be able to rapidly fetch some for your soups or use it later to clean the dishes and gas out the fire. In case you want to drink it, always remember to boil it first. That way you will kill the harmful bacteria that lives in mountain water.
Pro Tip: Even a paper cup can be used to boil water in it. The great thing about water is that it is an amazing heat conductor meaning it will always keep the temperature of the cup lower than the one it needs to incinerate. That is a very important trick because most often people only bring these kind of cups with them and think that they have no vessel to boil water in.
Once you’ve found the right spot for your fire, gather some big round rocks and create the fire pit. Next, gather some woods which burn nicely and construct the base of your fire. Some of the best and most secure choices you can go with are:
- Oak
- Maple
- Ash
- Cedar
- Hickory
The advantages of these hardwoods are that they shed a lot and can be found in almost every forest in the US. Light them up and let them burn until you have a solid layer of burnt wood that keeps a hot temperature. Put your charcoals on it so that they can catch fire and start burning. If you don’t bring charcoals then you will have to burn more wood in order to build up more heat. If you want to expose food directly to the coals (such as food wrapped in leaves or tin foil) then you should create a separate, smaller fire pit right next to the first one where you can drag the hot coals and put the food there.
Once you are done with this step you can move on to the next one.
I’ve created an article on how to keep your fire burning after you’ve already created it, if you feel like that might be an issue later on.
Step 2 – Use Your Surroundings
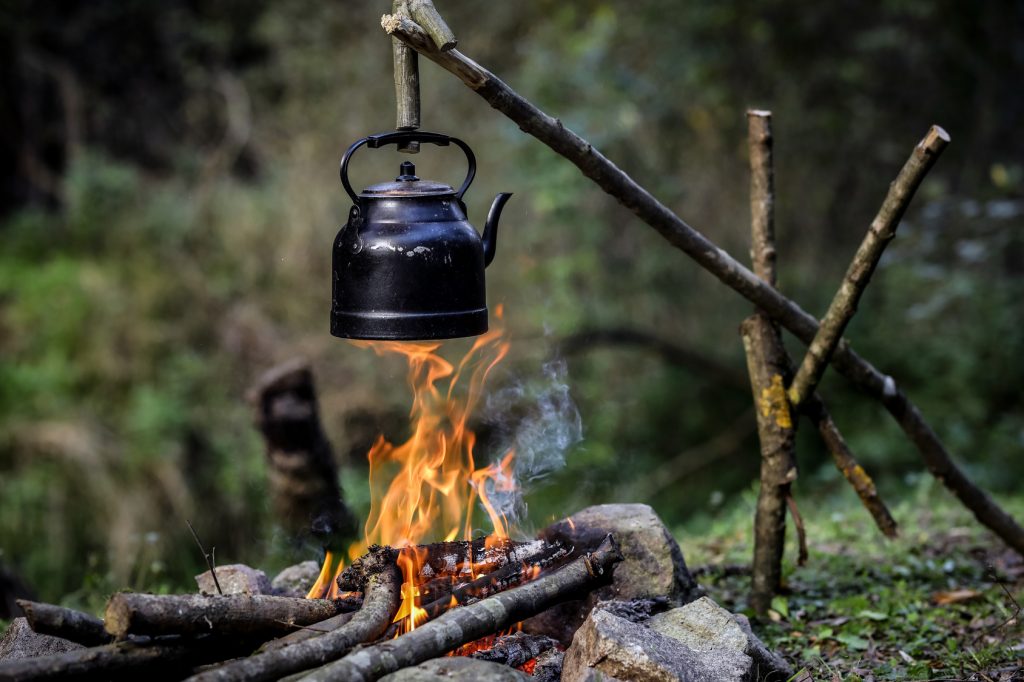
This is an important step as many people solely rely on what they brought with them to cook. Even if you need a hanger for your pot, you can do it with a few sticks tangled between each other. Still, this is not why I created this step. It is all about taste here, and taste is all around you when in a forest. The leaves of different trees are great for wrapping your food in them.
A prime example of that are cattail leaves. They add an earthy and bright taste to your food. Freshly caught fish taste amazing when cooked like that. In our forests there are plenty of edible leaves that can add to the taste of your dish, such as nettle, lotus leaves, common mallow, wild garlic, walnut and chestnut, etc.
Step 3 – Let Your Imagination Take Over
Now you have a fire, you know you aren’t only bound to what you brought with you and there are just a few final things to do before its dinner around the fire time. Think about your recipe and cook it the way you would have cooked it at home. Try keeping the fire burning at a steady pace if you are boiling a soup, otherwise the flavors won’t mix well and you will end up with veggie water. Keep adding charcoals to your initial fire place if you want to keep having ready ones to cook food on top of.
Whatever you have as food, you can wrap it up in different combinations and see whether it works out or not. You don’t want to go back to your tent later on that night and think about the taste of something you didn’t try.
Pro Tip: Don’t use Teflon pans or any other non-stick pan as they have been proven to be dangerous when old and under heat (especially under direct heat from a fire place). Cast iron should be your best friend when it comes to materials suitable for outdoors cooking. It is durable and holds temperatures long enough after you remove it from the fire. It is great for boiling soup and steaming vegetables.
Step 4 – Enjoy
This is, in my opinion, the most important step of a great campfire cooking session. After all, you are there to enjoy nature, enjoy your friends’ company and most importantly – to feel good. Sit back, relax, and enjoy the fruits of your work so far. It doesn’t matter how well you did it in your first try or how tasty or bad your meal is, as long as you had enjoyed the process of making it. This is all that matters. Don’t be hard on yourself. Eventually, you will become better at making a good and steady fire. Then, you will learn better food and spices combinations. At the end, you will cook with confidence and everyone will wait for your meals to be ready in order to sit around the fire, eat, and once again – enjoy life.
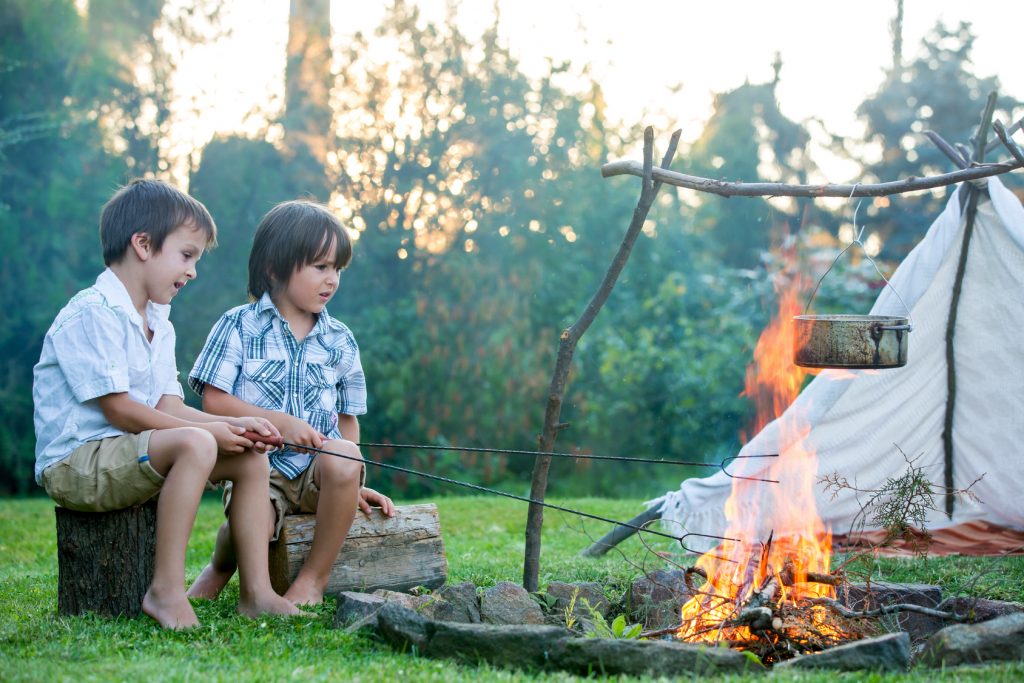
After you are done with everything I have to mention that a good chef’s practice is to leave his kitchen the way he found it so make sure you clean up the place, wash the dishes, and gas out the fire if you won’t use it for the night. If you’ve used rocks for your fireplace, do not disassemble it as it might be useful for someone else who goes camping at the same place after you.
Want to get some of the best tent camping tips out there? Head over to my article on the topic.
Related Questions
How long does it take to cook fish over a fire?
It really depends on the fish. Well, and on the fire. If you decide to wrap it in tin foil and cook it over the hot coals it shouldn’t take more than 10 minutes to cook it up nicely if it is gutted. Swap it every 5 minutes when cooking. If you catch your fish earlier that day you should wit with the gutting process. Gutted fish can get degrade in quality faster and won’t feel as fresh when you cook them. Ideally, you should gut your fish right before you cook it.
How do you cook salmon on a campfire?
Salmon takes 8-10 minutes on a medium heat fire to cook nicely. For the best results you need to either have a cast iron pan or simply use foil over the fire (double layered). Place some butter if you have any, and cook the salmon on top of it once the butter has melted. Turn the fish steaks every 2-3 minutes until they begin to flake easily when you poke them with a stick or a fork.
Some Final Words
Not every camping trip needs to be a culinary adventure but great food makes for great memories and is always nice to have a belly full of warm soup rather than some snacks you brought from home. Whether it is baked potatoes, grilled fish, steaks, or even marshmallows, all foods require similar steps to prepare yourself for cooking them. The most important thing to remember for cooking over a campfire is to just relax and enjoy your bonding experience with nature while you prepare food just as food has been prepared for thousands of years.
